Have you ever wondered how our adorable little shelf sitters are made? You know, those whimsical wooden shapes that seem to magically perch on your bookshelf, adding a touch of charm to your home decor? Well, wonder no more! In this blog post, we're going to take you on a journey through the dusty process of making shelf sitters from start to finish. Get ready for some sawdust and paint splatters!
How does it all begin?
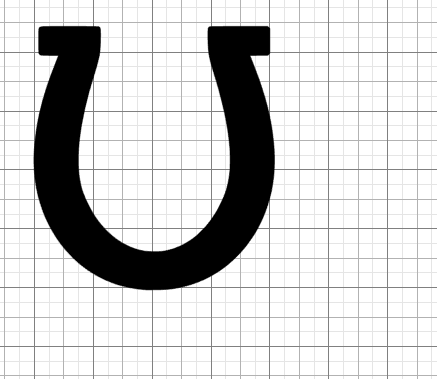
While I don't cut every single one of our shapes (sometimes I purchase them in bulk from a wholesale vendor who actually has a CNC machine), it all starts with finding a shape that tickles your fancy. Whether it's a cute animal, a funky character, or a mythical creature, the possibilities are endless. Once I find the perfect shape, and know that it's not too complicated for my abilities, I print it out grab some scissors and cut it out with the precision of a ninja. (Okay, maybe not a ninja, but you get the idea.)
Time to trace and cut!
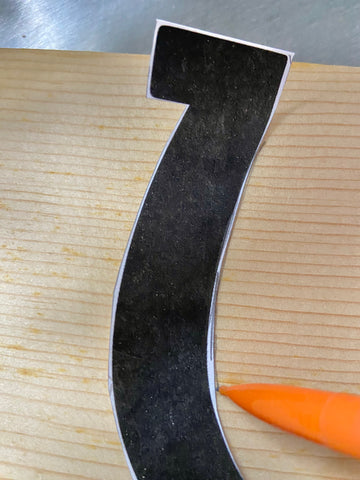
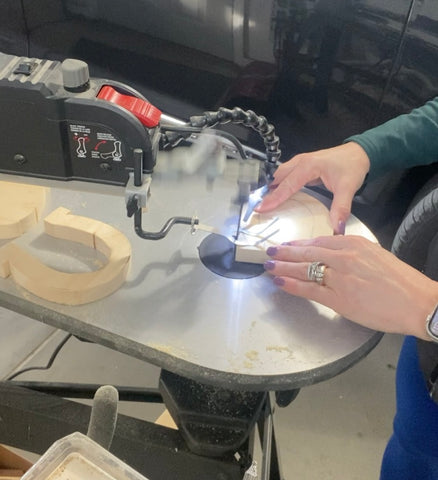
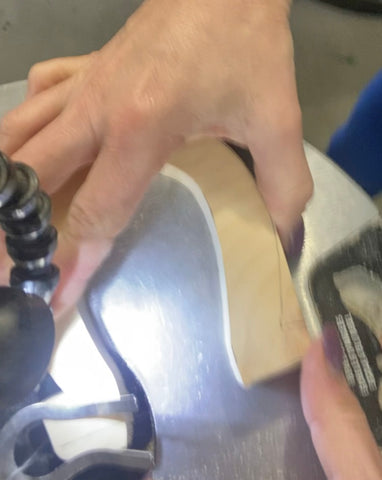
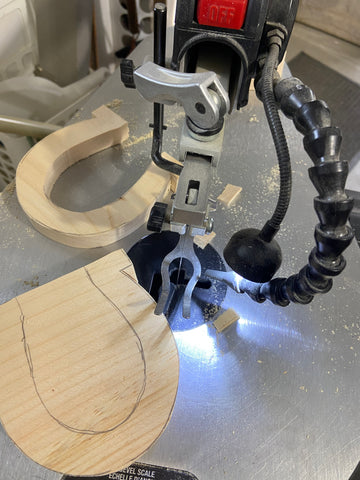
Now comes the fun part. Taking my trusty piece of wood, I then trace the outline of the shape onto it. Think of it as giving the wooden canvas a little tattoo. Once I've traced the shape, I plug in my scroll saw and start cutting away. Remember, if you are trying this at home, safety first! Keep those fingers away from the blade and let the saw do its thing.
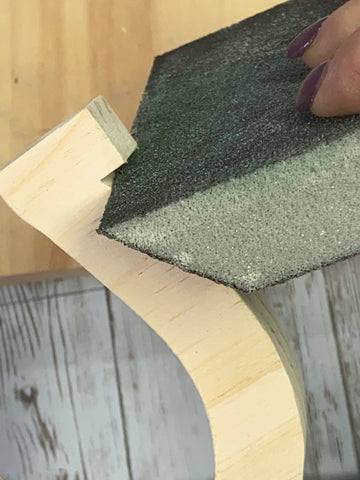
Sanding, sanding, and more sanding!
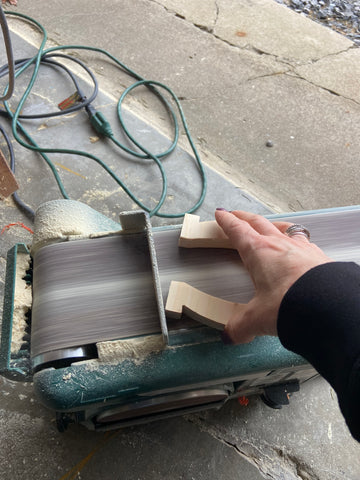
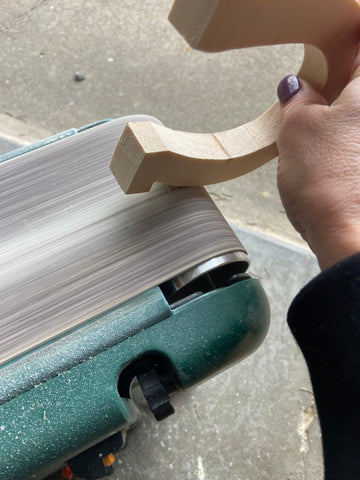
Now that I have my wooden shape, it's time to smooth out those rough edges. I head to my band saw for starters to start the process of making that wood as smooth as a baby's bottom. For the little nooks and crannies that the band saw can't reach, I sand away any imperfections and create a surface that's ready to be painted.
Let the creativity flow!
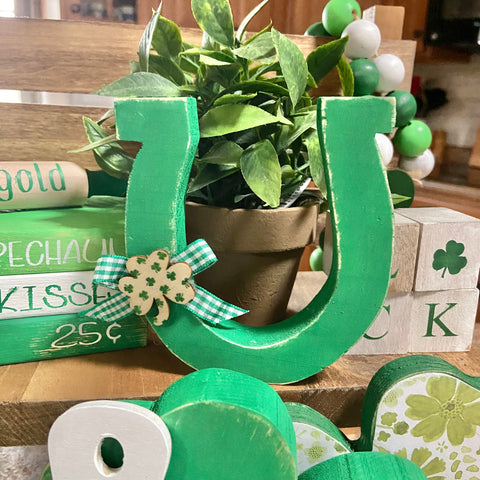
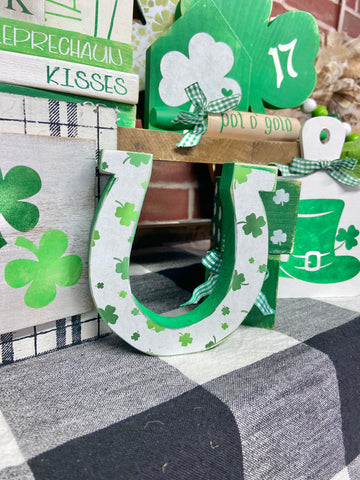
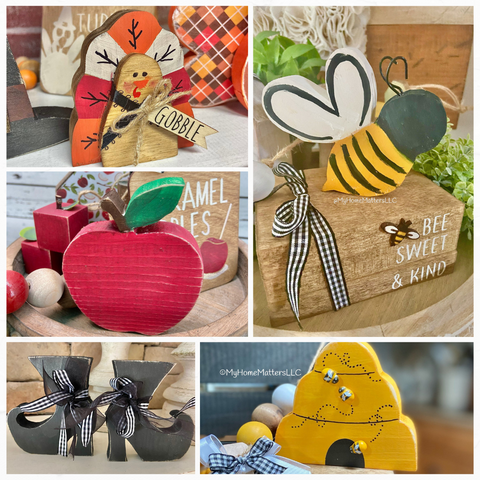
Now comes the most exciting part: painting and embellishing the shelf sitter. This is where you can let your imagination run wild. Grab your paintbrushes and unleash your inner artist. Add vibrant colors, intricate patterns, and quirky details that will make your shelf sitter truly one-of-a-kind. Don't forget to add some ribbon or embellishments for a touch of texture and dimension. Want to see this horseshoe shelf sitter come to life during one of my weekly LIVE Friday Features on Facebook? Click here to watch! Check out all of our shelf sitters for some easy DIY options for complimenting your tiered tray decor!
And there you have it! A handmade shelf sitter, in it's perfectly imperfect glory, ready to bring a smile to anyone who lays eyes on it. So, the next time you see one of our cute little shapes perched on someone's shelf, you can proudly say, "I know how that was made!" Better yet, grab one from our online shop and go forth and create your own charming pieces for your bookshelf.
Have a creative day!
-Laura
